MUMT 306 - Final Project
Ethan Lague - 260745803
Objective
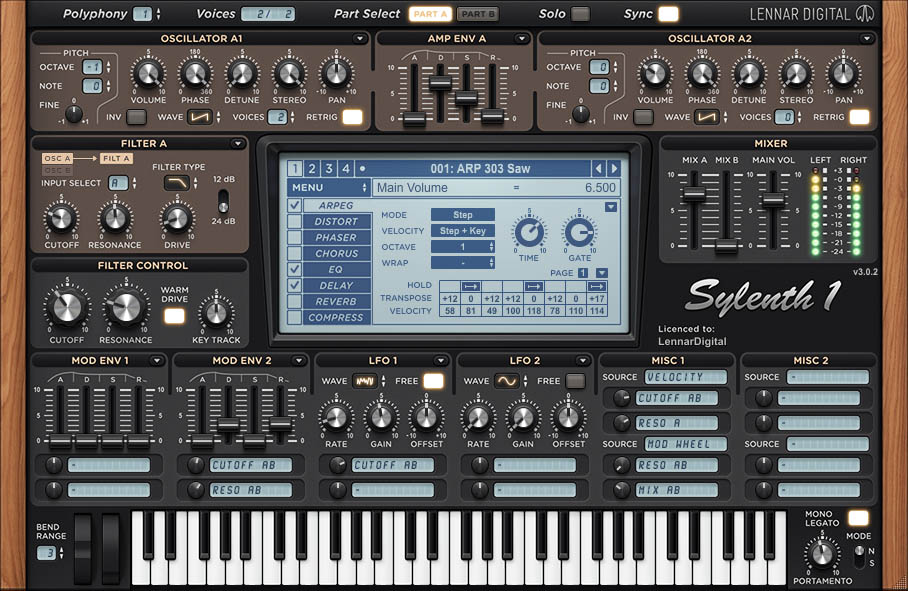
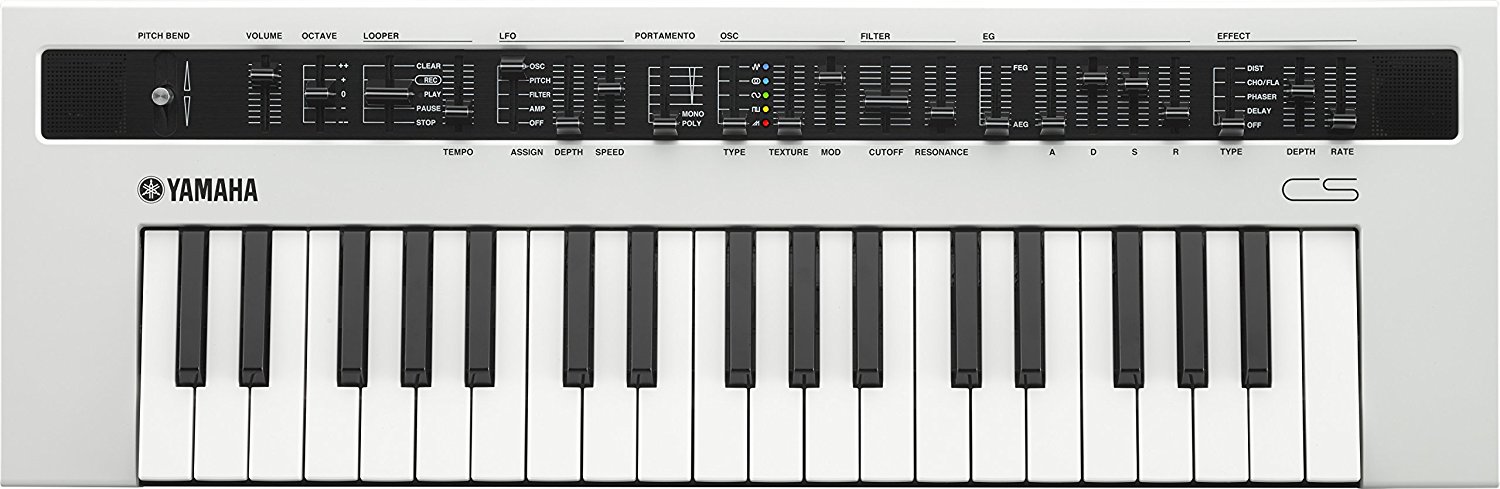
The portion of the course that I found the most interesting was the portion on sound processing and synthesis. I have always had a passion for those topics which is why I decided to register in the Musical Science and Technology (MST) minor in the first place. From the start of the course, I knew that I wanted my final project to revolve around sound processing and synthesis. I realized that this could cause an issue since those topics were only being covered in the final two weeks of the semsester, however I knew that if I managed my time appropriately in the final stretch of the semester, I would be able to accomplish my goal. Once the topic of processing sound using Max/MSP was introduced, I got the idea of creating a full on sound synthesizer, similar to those used for music production. After doing research on synthesizers, I decided to attempt to create a 4 oscillator, polyphonic synth with a controlable filter that incorporates functionality such as envoelopes (amplitude and modulation), a low frequency oscillator (LFO), and more. I got inspiration for my synthesizer from sylenth1 (Image 1) which is a 4 oscillator synth, as wellas my personal analog modeling synth, the Yamaha Reface CS (Image 2). The goal was to implement the synthesizer using the MSP waveform objects (such as cycle~) in a Max/MSP patcher, that can be controlled through MIDI in.
Methodology
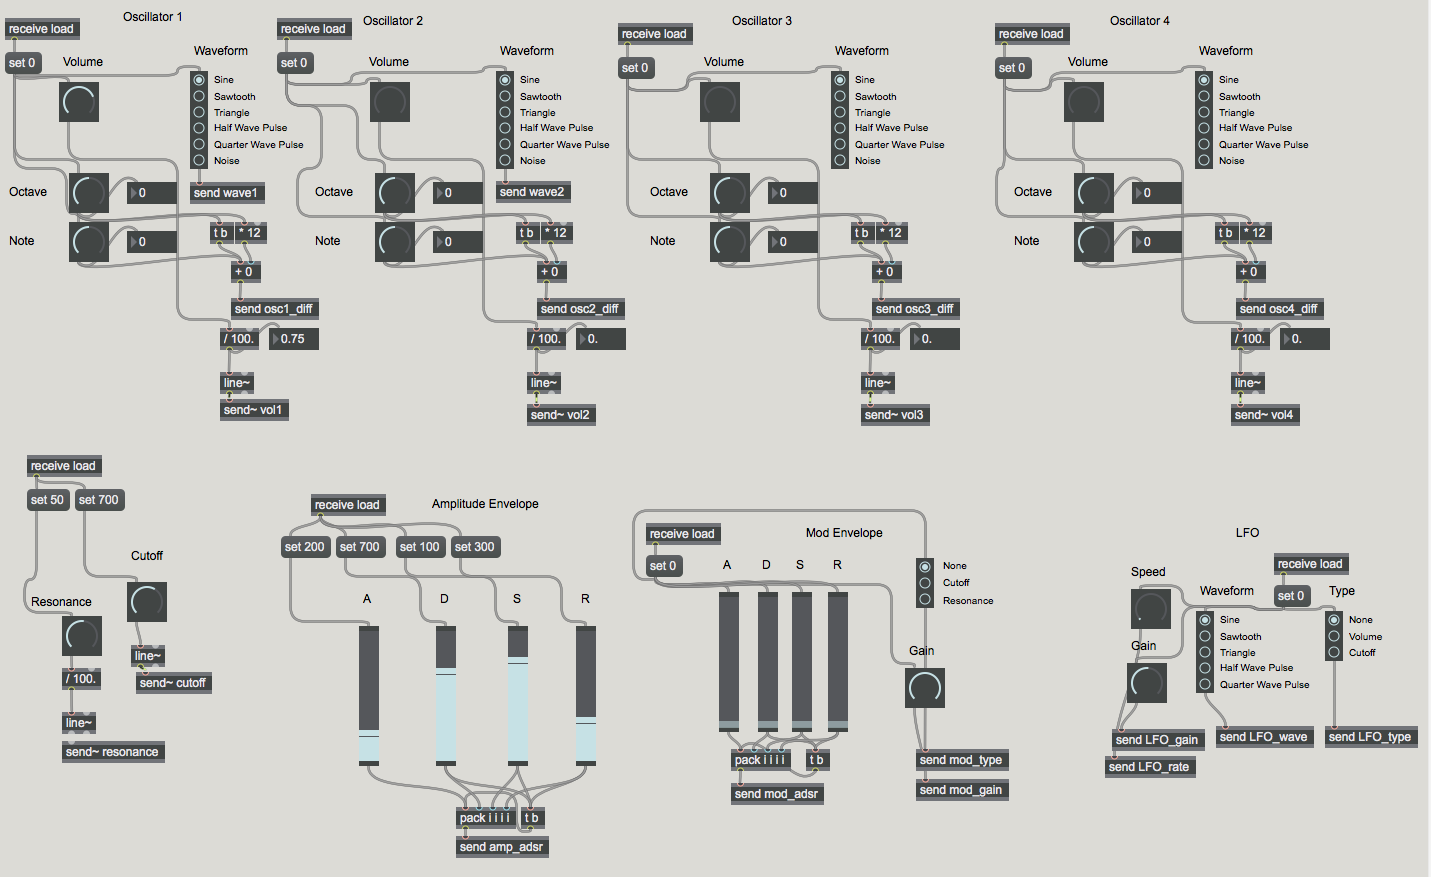
To begin implementing the objectives, I created a patcher with volume adjustable by a dial, where the waveform could be selected between a sine wave, sawtooth, trangle, half-wave pulse, quarter-wave pulse and noise. it can be selected by the radio group object. Since my home computer is a windows and windows can not send MIDI in to the Max patcher, i created my own raw MIDI data to test the patcher. This first part of the project was seemingly accomplished without any major issues, and the waveform could now be selected. The first major issue came during the next part of the project when I implemented second, third and fourth oscillator. The process seemed straightforward as I basically copied the first oscillator (giving each oscillator its own DAC), however this was the point when I realized that my synth was monophonic. When i tried to create notes of different pitches, the different frequencies ended up resulting in destructive interference which created an ugly sound. After doing research, I found a Max/MSP tutorial which showed me how to integrate polyphony into my synth (Video 1). As seen in the video, creating a subpatch containing the MSP waveform is required. I created a subpatcher for all 6 of the waveforms i wanted to use in my synth, and allowed each oscillator to call these subpatchers. The subpatch for the saw~ waveform can be seen in Image 3. To test this implementation, I used the computers in the lab so I could test with actual MIDI data. The implentation worked, and my synthesizer was now polyphonic. The next step was to implement an adjustable filter. Using the lores~ MSP object (i wanted a lowpass filter), I was able to do this easily by having the lores~ object as the last thing the signal goes through before the DAC for each oscillator. I added dials to contol the cutoff frequency and the resonance of the filter which are controllable by inlets to the lores~ object. My next objective was to implement note and octive differences for each oscillator. This would provide functionality to create chords from singular MIDI on notes, and to have notes across different octaves to create a fuller sound. Originally I attempted to just add the note differential value to the incoming MIDI pitch value before entering the polyphonic subpatchers. This worked fine, until I realized that changing the note value while playing a note would result in that note staying on indefinitely. I realized that this was because the note had been changed while being played, so the original pitch value would never recieve a noteoff. To avoid this problem, I added another inlet to the polyphonic subpatchers which would accept the note differential value. Changing the MIDI pitch value inside the subpatcher fixed this problem. The next step in the project was to create the envelopes. I decided to have two different envelopes (one for amplitude and one for modulation), because I find the amplitude envelope is very important for most sound synthesis. My Yamaha Reface CS only uses one envelope which can be used for amplitude OR for cutoff frequency whereas Sylenth1 has an amplitude envelope and a seperate envelope for other modulation. I find this a very important difference as a frequently use both envelopes in Sylenth1 and felt having that option is necessary. I started with the amplitude envelope. Since the polyphonic subpatchers use the adsr~ object (see Video 1), all that was needed was to add the 4 sliders (attack, decay, sustain, release) to the main patcher, pack them into a message, and send them into the subpatchers using a new inlet. Inside the subpatcher they are unpacked and fed into the adsr~ object. Next was the mod envelope. I wanted to be able to select cutoff frequency, resonance, and pitch that could be affected from this envelope, but realized that pitch would be too dificult to implement. I used the radiogroup object to select between no mod, cutoff and resonance, and a maze of gates to send the appropriate signal through the adsr~ envelope. Next to be completed was the LFO. to do this, I added dials to control the speed and gain of the LFO, a radiogroup object to select the wave shape, as well as a radiogroup object to select the type of LFO between none, volume, and cutoff. To implement this, I added a new set of all of the MSP signal generators (the same ones used in each of the oscillators), and another maze of gates to feed the selected signal through the LFO. This maze comes before the enveleope maze since I wanted the LFO to also be affected by the envelope. After this was completed, the functionality of the synthesizer was complete. The patcher was a mess however so I took the time to reorganize everything to allow for a friendly user interface. I made use of the send/receive and send~/receive~ objects to get rid of most of the clutter from the patch chords. I moved everything that did not need to be touched away from the main part of the screen so that when the display size is on 100%, only the objects needed by the user are on the screen.

Results
I ended up being able to accomplish my goal of creating a synthesizer using Max/MSP. Most of the things I set out to do were completed. The synthesizer incorporates all of the main functionality required to produce a wide range of sounds. However, if I were to do this project again, I would have given myself more time to work on it. Although we had not gone over the signal processing part of the course yet, had I started earlier I would have been able to integrate more functionality. Mainly, I wanted to find a way to incorporate pitch modulation via the mod envelope and LFO. This was very difficult since i would have had to find a way to modulate the frequency being fed inside of the polyphionic subpatchers. I spent hours trying to find a solution, but ended up cutting my losses and leaving it out of the synthesizer. I also wanted to add an effects component with effects such as reverb, chorus, distortion, etc. but given the time and the complexity that the synthesizer already is, I decided to leave them out. It also would have been cool to use the preset object to create different preset sounds. Overall, I am very happy with my project. I feel as though I created a good synthesizer with a simple user inerface. The interface can be seen below in Image 3. Synthesizers have always ben a passion of mine, and this project allowed me to demonstrate my prior knowledge and expand my knowledge greatly. After having heard that MUMT 307 deals with signal processing much more than MUMT 306, I am very excited to begin the course next semester.