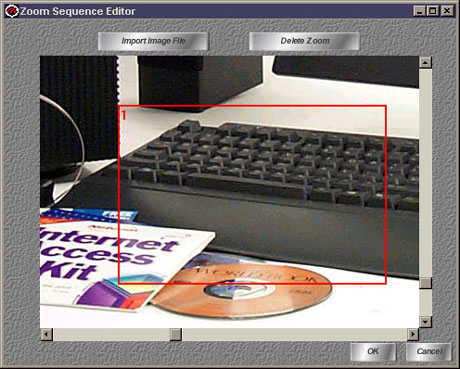
Figure 1: A Zoom Sequence Editor
(with an imported image and one zoom rectangle)
The Zoom Sequence Editor creates animations in which a section of a larger image is progressively enlarged in each frame.
Multiple areas can be zoomed upon. Each progressive animation of an enlarged area becomes a new row of frames in the animation workspace.
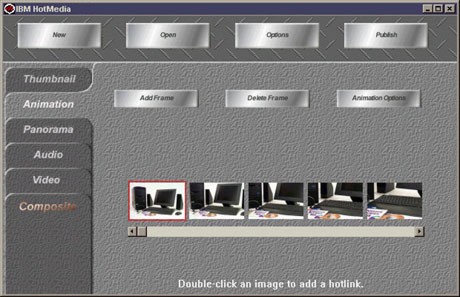
This brings up a new window which will allow you to create a zoom sequence animation. An initial large image is imported, and several animation tracks depicting zooms into selected parts of the original image are created.
Import Image
Add Zoom RectangleUse this button to select a large image you wish to create a zoom sequence of. It is recommended that the source image be high-quality, with little compression artifacts. Either a GIF or JPEG may be used.
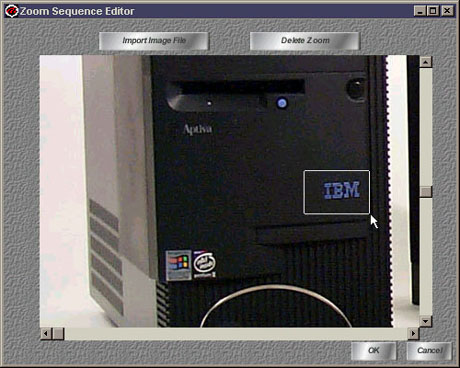
Click and drag in the imported image (which is displayed in the middle of the window) to create a Zoom Rectangle. The following dialog box will be displayed. (Note that your selection is constrained to the aspect ratio of the original image.)
Figure 4: Enter Zoom Frames Dialog
Number of Intermediate Zoom Frames
The number of intermediate frames you would like the Zoom Editor to create. The total number of images created will be this number plus 2. (The first image is the resized original imported image, the final image is the resized zoom rectangle image).
Linear Progression
Intermediate images are evenly spaced in size. This has the effect of a zoom which grows very quickly toward the end of the sequence. This is not always desirable.
Geometric Progression
The amount of zoom between each individual frame progressively gets smaller. This is best for Zoom sequences with few frames.
Trigonometric Progression
The amount of zoom between each individual frame progressively gets smaller, but the amount it accelerates tapers off at the end. This is best for zoom sequences with many frames.
JPEG Compression Level
When the images are clipped and resized, they are compressed using JPEG. You can set this to any JPEG quality between 5-95. Five is highest-quality, largest-file, and 95 is worst-quality, smallest-file. Good settings are 60 for a reasonably high-quality, medium-size file, and 75 for a decent quality, small file.
Selecting Zoom Rectangles
You may single-click on an existing zoom rectangle to select it. Double clicking the current zoom rectangle brings up the Enter Zoom Frames Dialog again.
Delete Zoom Rectangle
Use this button to delete the currently selected zoom rectangle.
OK
Select this button when you are ready to create the zoom sequences and return to the Animation Workspace. A new dialog which allows you to set the final sizes of all the animation frames is then displayed:
Figure 5: Set Zoom Image Sizes Dialog
Resize all to largest zoom rectangle
The width and height of the largest zoom rectangle is used to resize all images.
Resize all to smallest zoom rectangle
The width and height of the smallest zoom rectangle is used to resize all images.
Resize all to applet window size
The applet width and height (set in File Options) is used to resize all images.
Resize all to original image size
All zoomed images are enlarged to the original image's size (very wasteful of space).
Resize to arbitrary size:
All images are stretched or shrunk to fit in the specified width and height.
Do not resize images
All images are clipped and left at their original size (the Player will stretch them to fit the applet window)